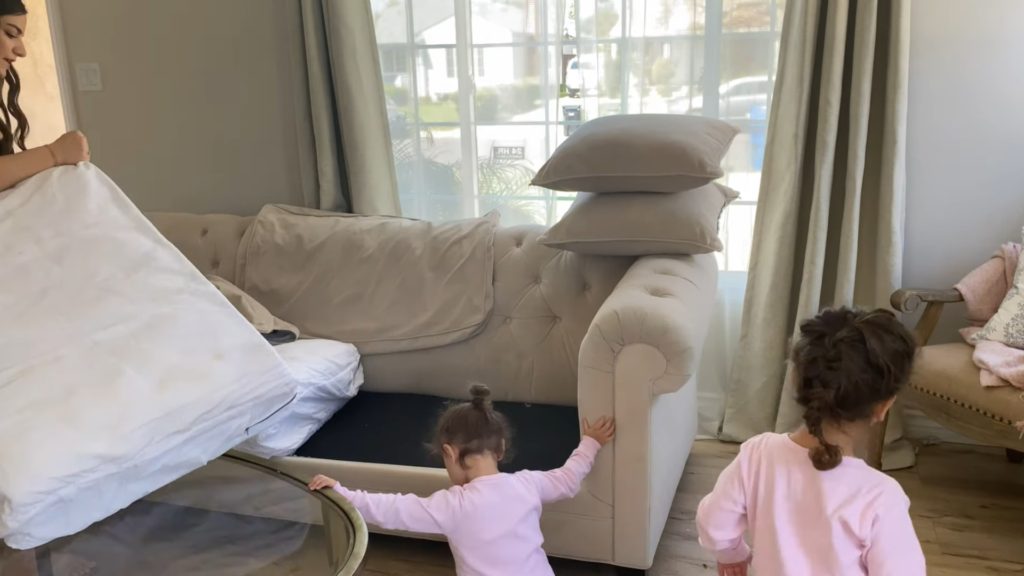
How To Clean A Teenager’s Bedroom
It’s practically the battleground for World War 3. You know how the scenario goes. Teenager goes and hibernates in their bedroom, doing homework (hopefully), eating, endlessly changing clothes and fidgeting around with electronic gadgets. Well, most of London teenagers’ rooms look like this. Maybe in the country young people spend more time outside practicing “human interaction skills”, but not in the capital.
Slowly, the bedroom fills with scungy plates, stinky sweatshirts, empty crisp packets and old papers. Let’s not talk about the sheets. The parent wants to make sure that the home stays in a reasonable condition so that pest control agencies don’t get called in.
After this, there are two options, which end up with significant rows. In Option 1, the parent (usually the mother but not always) goes in and tidies it up, knowing that this will take less effort than nagging a teenager into doing it. The teenager comes home and finds the tidy room – and complains about an invasion of privacy, things being put in the wrong place (or thrown away). Further rows break out if the parent has discovered contraband. In Option 2, the parent nags, threatens and cajoles the teenager into tidying the bedroom – or tries to, which triggers another row.
So what’s a parent to do?
Should The Parents Do The Cleaning?
Please don’t do it. Even if your teenager doesn’t complain and moan about invasions of privacy but doesn’t mind you cleaning their room, you won’t be doing them any favours. They are no longer toddlers, and they ought to take some responsibility for themselves. What’s more, as they become older and more responsible, they will need a bit more privacy and space that they can call their own, even if it’s half a room. They need a place to keep secret diaries (if any teenagers keep these today rather than posting their lives up for comment on social media) and the like. Besides, if your teenager always washes their sheets, it’s a lot less embarrassing for them if they want to keep the reasons why the sheets need changing (semen or menstrual blood) secret. They also need to learn how to develop their organisational skills.
The best thing you can do for your teenager is to give them some organisation skills and tools (e.g. a chest of drawers that’s big enough to hold all their clothes and a quick rundown of the essential house cleaning tools and their location in the cupboard). Then leave them to it. Close the door and don’t apologise for their room if visitors come to call – even if it’s your mother-in-law. Your mother-in-law probably remembers your spouse’s teenage bedroom, after all, and you might find that your teen’s behaviour runs in the family.
You will have to insist on a few fundamental things that need to be done, so the bedroom doesn’t become a biological hazard:
- Plates, cups, apple cores and banana peels cannot remain in the room for more than 48 hours.
- An overflowing rubbish bin needs to be emptied.
- Towels and sheets have to be changed fortnightly.
- If you don’t put clothes in the washing basket, they won’t get washed.
- If the cat/dog/guinea pig/parrot makes a mess in your bedroom, you clean it up.
- Vacuum weekly to ensure that fleas don’t take up residence
To Teenagers: Why You Need To Clean Your Bedroom
Yes, we know you’ve asked why you need to clean your room. You have probably heard the answer “Because I said so” half a billion times. But here are the real reasons why:
- If you put things away where they belong instead of throwing them all higgledy-piggledy over the floor, you will find them quickly. If you toss them any old, you will spend ages hunting for them.
- Damp towels and stinky, dirty T-shirts grow mould unless washed.
- Fleas love to live in carpets that don’t get vacuumed.
- Cockroaches, rats and other disease-bearing pests are attracted to ignored food scraps and rubbish. You do not want these as pets.
- If your room stinks and you can’t see the carpet, you’re going to be pretty embarrassed when your friends come round.
- Having clear space on the floor means that you’ll have space to work out, dance or play air guitar
To Teenagers – Some Tips For Cleaning Your Bedroom
- Start by getting the atmosphere OK. Put on some fast-paced music (it’s allowed to be loud), open the curtains and maybe open a window for fresh air, and it’s a sunny day. (Hmm, maybe not if you live in Central London – the hustle and bussle of everyday life plus the level of polution in the capital will defeat the purpose of “fresh air” almost 9 times out of 10)
- Peel off the sheets if they need to be changed (weekly or fortnightly is best). Don’t forget the pillowcases.
- Take out any stuff that belongs in another room. This includes that CD you borrowed last week from your little sister. It also consists of all cutlery, cups and plates.
- Put away your clothes or put them in the laundry basket to go to the wash. Do not put away dirty clothes (the stains and stink may become permanent), and do not dump clean clothes into the washing.
- Don’t forget under your bed. Just because you can’t see it doesn’t mean that you won’t be able to smell it – or that the mice can’t find it, you may also be amazed at what you find under there.
- Get rid of rubbish and recycling.
- Put away any other stuff that isn’t where it’s supposed to be. If it hasn’t got a good home, rearrange things or create a home for it.
- Put clean sheets on the bed. Even if you want to use a duvet or a sleeping bag to avoid sheets, you will still need to wash these periodically. Sleeping bags will smell like poo if left unwashed for too long.
- Making yourself familiar with essential house cleaning tools is not going to hurt you. Get a grip and help your hard working parents.
What About Getting A Professional Cleaner in London?
Relax Londoners. Living in the capital is hectic and depressing as it is. But should you worry about getting your teenager’s room cleaned if you get a London maid in? Our personal opinion is that the answer is “yes” and “no”. It’s a yes because you may want your cleaning lady or another professional cleaner to vacuum the carpet in there and maybe a few other small routine tasks (e.g. emptying the rubbish bin and taking the dirty washing to the laundry). It’s a no because your teenager still needs to take some responsibility for their stuff and learn some organisational skills.
I am not sure if teenagers across the UK are behaving in the same way, but the London ones tend to know it all and be particularly mouthy towards their parents. Not all of them will jump to the ceiling at the idea to clean their own personal dwelling. Definitely worth a try though.
This is probably a matter of negotiation for you, your teenager and your cleaner. Work out what you expect and who’s going to do what. Most good cleaners will be happy to fit in with what you want – even if this means leaving your teen’s room messy.
Essential House Cleaning Tools Everyone Should Have
For a lot of us, the day when we first moved out of our homes and set up on our own, in a flat or by ourselves, was a long, long time ago. But back then, we didn’t give much thought as to what we would need in the way of cleaning equipment for our new place to live. We probably thought more about our musical equipment and maybe a computer game or two.
The Basics
If you were doing it all over again (or if you’re about to do it for the first time) and set up a new home from scratch, what cleaning tools are absolute must-haves? Here are our suggestions for what you can’t do without (unless you hire a professional cleaner to come and do the lot for you, of course!).
Vacuum Cleaner
Houses without carpets of some kind are in the minority, so you’re going to need a vacuum cleaner to keep them looking nice and to keep the fleas at bay (didn’t think of that aspect, now, did you?).
Broom
Even if there’s carpet everywhere else, there will be some hard floor areas which you will need a broom to sweep. You can also wrap a towel around the head of a broom and use it to clean spider webs off the ceiling.
Bucket
Suitable for more than just holding warm soapy water when you’re cleaning, too.
Rags
Fortunately, these can be picked up for free if you recycle your old towels and T-shirts. Use them as dusters, dishcloths, polishing rags, and general cleaning. You will need lots of them.
A General-Purpose Scrubbing Brush
Use it for everything from scrubbing grass stains off the knees of denim jeans to cleaning blood stains out of carpets. In fact, several brushes with different stiffness grades would be ideal, ranging from super-stiff for getting mud off boots through to something tiny and delicate like an old toothbrush for getting into little crevices in jewellery.
Loo Cleaning Brush
Some things should be kept for one thing and only if they have to do a dirty job. Also, make sure you have something to store this in that can be filled with a disinfectant solution, so the germs don’t find a happy tiny home on the brush.
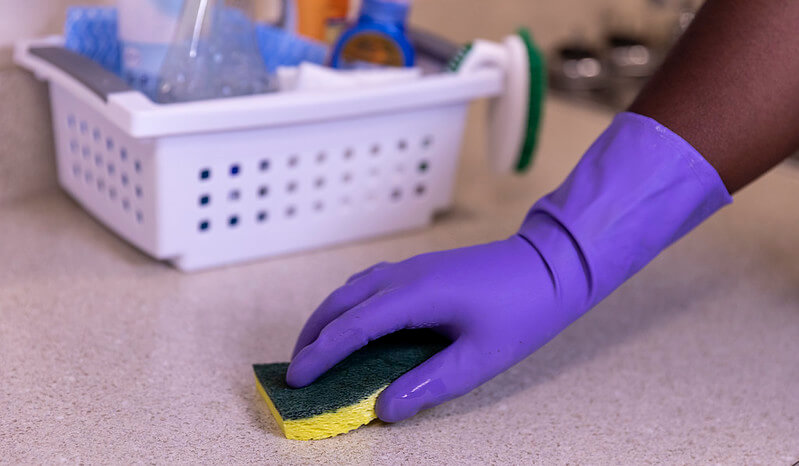
Rubber Gloves
A lot of commercial cleaning products are pretty ferocious on your hands as well as on dirt. Even dishwashing detergent can be pretty savage, leaving your skin all dry and flaky. What’s more, there are some things that you may have to clean up that you don’t want to get on your hands. Several pairs of rubber gloves are in order here – one pair for cleaner jobs like doing the dishes and another pair for the dirty work like cleaning up where a pet made a mess on the carpet.
Mop
While it is possible to use a scrubbing brush and a barrage of old towels to get a hard floor nice and clean, using a mop is much, much easier. Make sure it can fit into the bucket.
Well, once you have covered the basics, the rest is an added bonus. With the above tools, you are more than equipped to tackle most house cleaning tasks. For anything more complicated you are strongly advised to use specialist services. Your best best is searching on Google for a reputable domestic cleaning company with lots of positive reviews online.
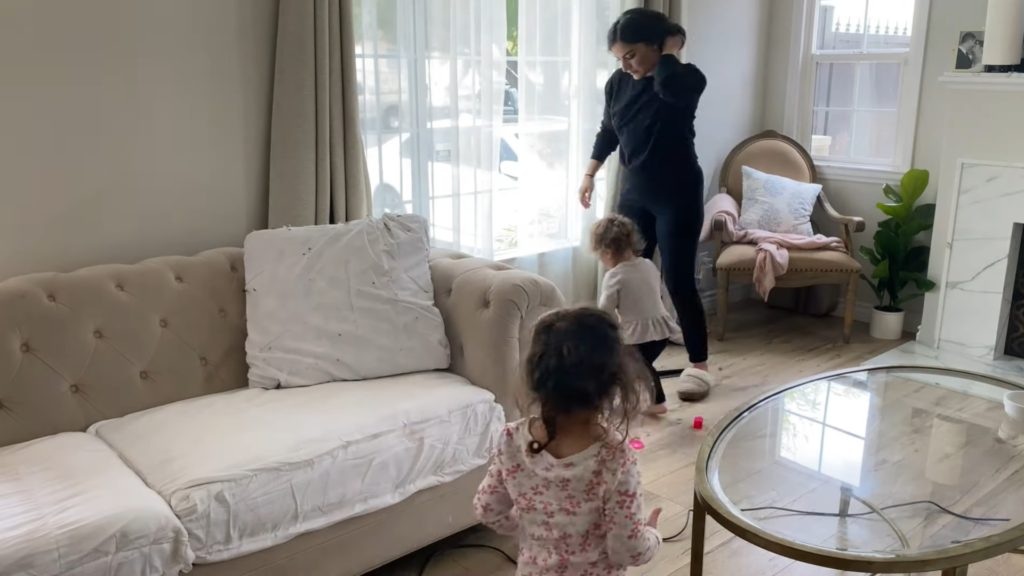
How To Involve Your Kids In The House Cleaning
I know what you already think when you read the headline – it won’t work on my kids. But that is actually the fundamental cause of the problem – you have already resigned to the idea that your children do not like cleaning, and you have to do all the housekeeping chores on your own. Trust me, I was there – and it was not a happy place. But now my two teenagers not only keep their respective rooms in order – they take part in the house and garden cleaning and do the dishes as well.
How did I achieve this feat? Let me tell you my story!
Start Early
In the interest of full disclosure – I have been a professional cleaner for over fifteen years. If you think, however, that this is an advantage, you are sadly mistaken. Yes, I do know how to clean a kitchen or a bathroom much more efficiently and faster than a regular housewife. But the last thing I want to do is to bring my work at home. And since you cannot really escape from cleaning, that was what I had to do for a while.
My daughter was born eighteen months before I became a professional house cleaner in South West London, and my son – two and a half years later. My husband worked, and still does, in construction – so we both had to navigate through long shifts and the duties at home. He is very handy at keeping things in order – you know, repairing stuff, building a fence in the garden, constructing a small playground for the children in the backyard. But he is hopeless when it comes to cleaning, so even with the best intentions, he would be more of a disaster than help.
Which brings me to my first point – if you spoil your kids early, do not expect them to help you later. I made it a quick point to the kids that if they wanted to play, they would have to gather their toys afterwards. The crucial test came with a large Lego construction kit that their grandmother bought for my daughter’s seventh birthday. By this time, Vickie had learnt the rules well, but her brother proved more willful. One time he started building a house but stopped midway and came running to the kitchen, looking for a snack. Alex did not see any reason to put the Lego blocks back in their box, and when I told him to do so, he refused. That was the last time he touched the construction kit for a month. After finding out that his temper tantrums did not make much of an impression, Alex realised the only way to play with the Lego again is to clean up the mess afterwards.
It was the first step in a long process of housekeeping education. Putting the Lego blocks back in the box turned into keeping their rooms in order, dusting the shelves, and even vacuum cleaning (for some unexplainable reason Alex finds it very funny and amusing). By the time my kids were ten and twelve, respectively, they were helping me with the majority of the chores at home. As you may notice, the decisive factor here was the starting age. If you have a fifteen-year-old teenager who hasn’t done a single chore in their life, convincing them to start all of a sudden is a lost cause.
There Must Be A Carrot As Well
You cannot only use negative motivation – if you do not clean your room you are grounded, I will take your phone away, you cannot play with your friends, and so forth. You have to create a positive alternative that will not only convince your kids to help with the chores, but they start doing it willingly. In my case, it was “chocolate money”. Let’s say I wanted to do a thorough cleaning overhaul of the house and made a list of the chores. The sibling that helped me with the greater number of the tasks would get 20 pounds for chocolate, sweets, snacks – whatever they chose. To be fair, cleaning came more naturally to Vickie, but as Alex began to grow up and become stronger than his sister, he could help me with moving stuff around. Soon they were engaged in a real competition of who would do the better job – to my Macciavelian delight. But the real benefit was that they began to consider cleaning or laundry or doing the dishes as an integral part of their daily routine, not a one-time accident.
Treat Them As Adults
As my kids grew older and became teenagers, I found this to be the most effective way to involve them in the home cleaning process. Let’s be honest – nobody likes cleaning (I do it for a living, but that doesn’t change the fact). Do not try to convince your kids that it is a pleasant or important part of their life – because it is not. But it is necessary – and this is the crux of the matter. Growing up means that you will do unpleasant and dull things just because they are required, and you should expect nothing in return.
One of my great moments of parental satisfaction came on a regular day after I came back from work exhausted. I had some laundry to do, and it was the day I usually cleaned the kitchen drawers. Vickie new all that and saw that I was drained, so she said: “Listen, Momster (which, as she loves to point out, it is a combination of Mom and monster), how about you relax a bit, and I will do the laundry, and the weirdo (a.k.a her brother) will do the drawers.” There she was, my sixteen-year-old daughter, offering to do a chore expecting nothing in return, not because I told her to – because of a genuine desire to help.
You do not have to be a dictator or rob a bank to achieve it – don’t spoil your kids, reward them when they do a good job, and when they are old enough – treat them as adults. If the recipe has worked for me, I am sure it will work for you as well!
Are You Cleaning Harder Than You Have To?
Most of us would like to spend less time than we do on our housework. But whether you love it or whether you hate it, somebody has to do the dusting, polishing and vacuuming around the house!
The vast majority of us would prefer not to do things the hard way and we’d much prefer household cleaning tasks to be a lot easier. It may come as a surprise, then, to find out that you might be cleaning things around the home the hard way rather than the efficient way.
It pays to take a tip or two from the professional home cleaners. Because they have to get through a certain amount of work in a set time, even if they are being paid at an hourly rate, they know how to work efficiently and quickly, making the most of all the cleaning time available. If you could have a wee chat to a professional housemaid, she (or possibly he) could tell you a few things that you are doing wrong and could do more effectively.
And who doesn’t want to make the job of cleaning the house easier?
Habits That Make Domestic Cleaning Harder
Here are a handful of bad habits that seem good: ways that you are making things harder for yourself. Do any of these sound familiar?
- You clean the bathroom and/or kitchen in one big hit when you’ve got plenty of time during the day to spend on cleaning jobs.
- You take activities from one room into another room. For example, you take a snack away from the table and through to the TV room. You polish your nails in the kitchen instead of in the bathroom. You take your paperwork away from the home office (or the corner that you’ve got set aside for your computer and files) and into the bedroom.
- You leave all your windows open all the time (or at least as much as possible) and you wipe your shoes on the mat before walking inside.
- You pick up any cleaning products in the supermarket that look good. The same goes for cleaning tools.
- You clean when you feel like it, doing whatever tasks pop into your head.
- When you start cleaning, you buzz from the room you’re working on back to the rubbish bin or laundry with dirty clothes or things that need to be thrown out.
None of these habits sounds too bad at first. But they could be making the task of getting your home presentable a lot longer and harder than it has to be. But how?
- If you leave dirt and grease to settle on the kitchen bench or the bathtub, it dries on and becomes harder to remove when the time comes for that big domestic cleaning session.
- If you do activities away from where they’re supposed to be done, you tend to leave equipment and bits and pieces all over the place, as it’s harder to put things away where they belong if you’re not in the right room. This is how pens end up in the bathroom, plates end up on top of the TV and so forth.
- Doors and windows let dust and dirt in as well as people. Doormats can only get so much off your shoes.
- A cleaning product that you never use or hardly ever use is just going to clutter up your cupboards. The same goes for gadgets that are too difficult or impractical to use. Take robot vacuum cleaners: they’re fine if you keep your floors clear most of the time. If you have small people (or larger people!) who drop things all over the floor, then you’re going to have to pick everything up off the floor before you set the robot vacuum going or it won’t vacuum you carpets properly.
- As the old saying – or cliché – goes, if you fail to plan, you plan to fail.
- Trips back and forth are inefficient and a waste of energy. If you buzz back and forth, you probably spend most of your time going from A to B, especially if you have to trek up and down stairs.
Home Cleaning The Easy Way
So how do you make these jobs easier? How do you correct these bad home cleaning habits? Dear reader, all will be revealed…
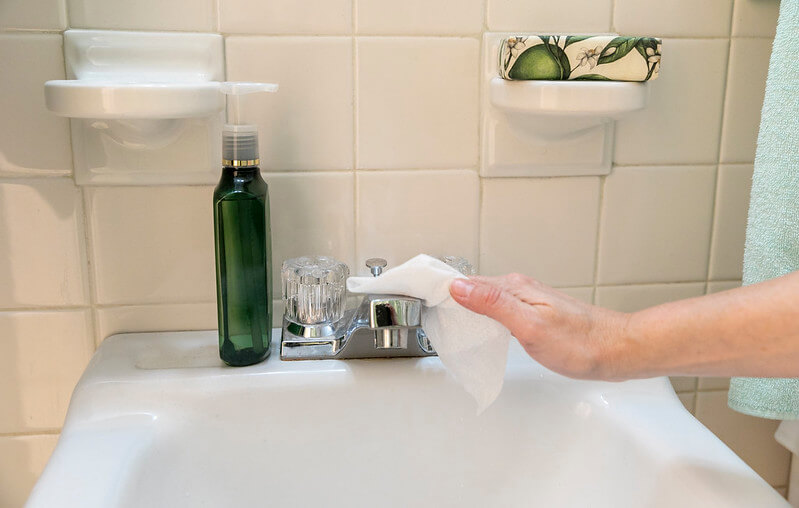
- Clean up the bathroom or kitchen as soon as you’ve finished using it. Foam, grease, soap scum etc. all come off so much easier when they’re fresh and it can be done in a jiffy with a quick wipe of a cloth with minimal effort.
- Do things in the right place to avoid scattering things through the house. Or if you absolutely have to take something into a different place, be very scrupulous about taking it back to where it belongs straight away rather than leaving it there until it’s time to tackle your cleaning.
- Close your windows if they face the prevailing wind. This way, dust, pollen, seeds and leaves won’t get blown indoors. Take your shoes off at the door so they don’t bring mud inside.
- Look out for all-purpose cleaning products that can do several jobs rather than specialised ones. When choosing tools, think about your home and your lifestyle. If you’ve got heaps of carpet and not many hard surfaces, then buying a floor polisher is probably a waste of your hard-earned money.
- Schedule your cleaning tasks and have a list of things you really want to get done rather than cleaning at random whenever the fit takes you. This way, all the jobs that need to be done around your home will be seen to, rather than just the ones you like or the ones that are the most visible.
- Take all your tools with you as you clean, just like the professionals do. Also bring a big basket with you to store items that need to be taken to another place rather than put away. Deal with these items (dirty laundry, rubbish, things in the wrong place) all at once rather than as you come across them.
Home Cleaning The REALLY Easy Way (OK, You May Call It Cheating!)
Hire a professional cleaner! If you need your home cleaned efficiently and effectively, then don’t just that housemaid how to clean the house – making enquiries about prices, contracts and schedules may be the answer. This means that all the heavy-duty cleaning work gets done effectively, freeing you up, and you only have to do basic surface cleaning work.
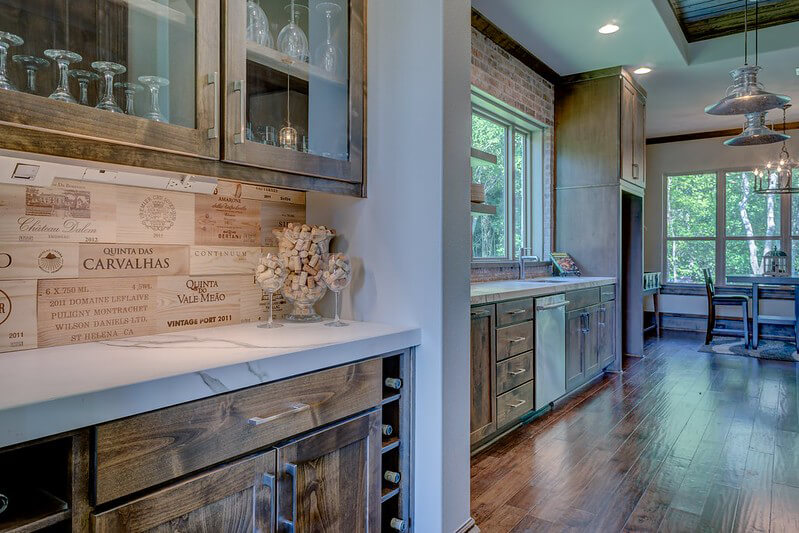
Start Your House Cleaning Routine From The Kitchen
How do you start a regular house cleaning routine? You may find a hundred different answers to the question – you begin from the front door and move clockwise, you get the most difficult or the most manageable tasks first, and so on. But in nine out of ten cases, the best way to commence the cleaning is from the kitchen.
Why so, you may ask? The first reason would be the multitude of appliances and kitchen items that people use daily and will need your specific attention. From the microwave oven to the toaster, the coffee machine or the juice mixer – they all need to be cleaned carefully. The countertops and kitchen sink are among the top areas that attract germs and bacteria because of the humidity – you should deal with them right away.
The second apparent reason is that it is the place where people prepare their food and eat it – you may make small compromises with the sanitary maintenance of the bedroom or living room, for examples, but not the kitchen.
Last but not least – more often than not, you will have to deal with old food or beverages that you need to throw away. I like to do it first because I do not want to sprinkle the freshly polished floors with crumbs or spill some wayward drops of wine left in a seemingly empty bottle.
What about you – where do you start with the housekeeping chores?